> ## Documentation Index
> Fetch the complete documentation index at: https://docs.cyberwave.com/llms.txt
> Use this file to discover all available pages before exploring further.
# Create an Asset
> Upload your own URDF to create a custom Cyberwave asset, the 3D and kinematic definition behind every digital twin. Walk through the Package, Details, and Access steps.
An **asset** is the reusable definition of a piece of hardware: its 3D meshes and its kinematic model (URDF) that Cyberwave uses to spawn [digital twins](/use-cyberwave/architecture/key-concepts). Catalog devices like `the-robot-studio/so101` are assets that already exist. When your hardware **isn't in the [catalog](https://cyberwave.com/catalog)**, you create your own asset by uploading a URDF package.
This page walks through creating an asset from the dashboard. You can also upload programmatically, using the REST API or Python SDK methods described on the [Catalog](/feature-reference/catalog) page.
***
## Prepare your URDF package
Cyberwave accepts a single **ZIP archive** containing one main `.urdf` (or `.xacro`) file and every file it references, including meshes, textures, and materials.
```text theme={null}
my-robot/
urdf/
robot.urdf
meshes/
base_link.stl
arm_visual.obj
textures/
arm_albedo.png
```
Use **relative paths** inside the URDF that match your ZIP structure. If the
URDF references `meshes/arm_visual.obj`, that file must exist at that path
inside the ZIP. Cyberwave processes (unpacks and validates) the archive after
you create the asset.
A complete single-file example (a DJI Mini 4 Pro drone): one `base_link`, four
propeller links, and four `continuous` joints. Use it as a reference for link,
joint, material, and mesh-reference structure, then bundle your own URDF with
its `meshes/` folder into a ZIP.
***
## Create the asset
Open the **Upload URDF package** wizard from the dashboard, then complete its three steps.
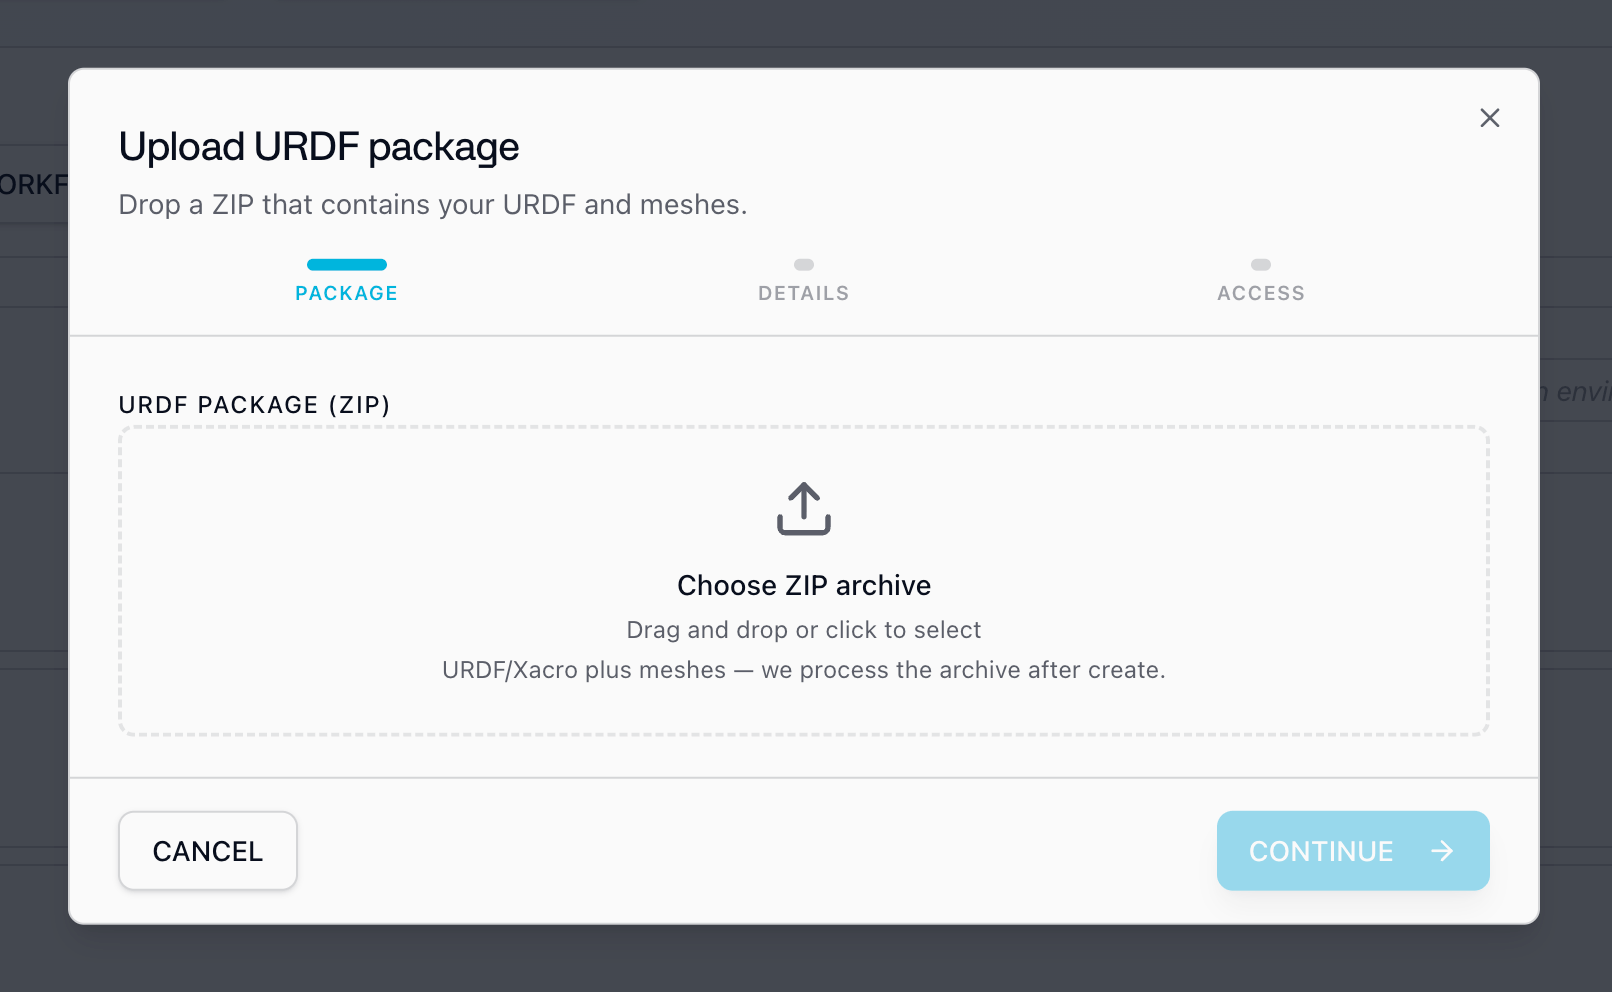
On the **Package** step, drag and drop your ZIP into the **URDF Package
(ZIP)** drop zone, or click to select it. The archive should contain your
URDF/Xacro plus all referenced meshes. Click **Continue**.
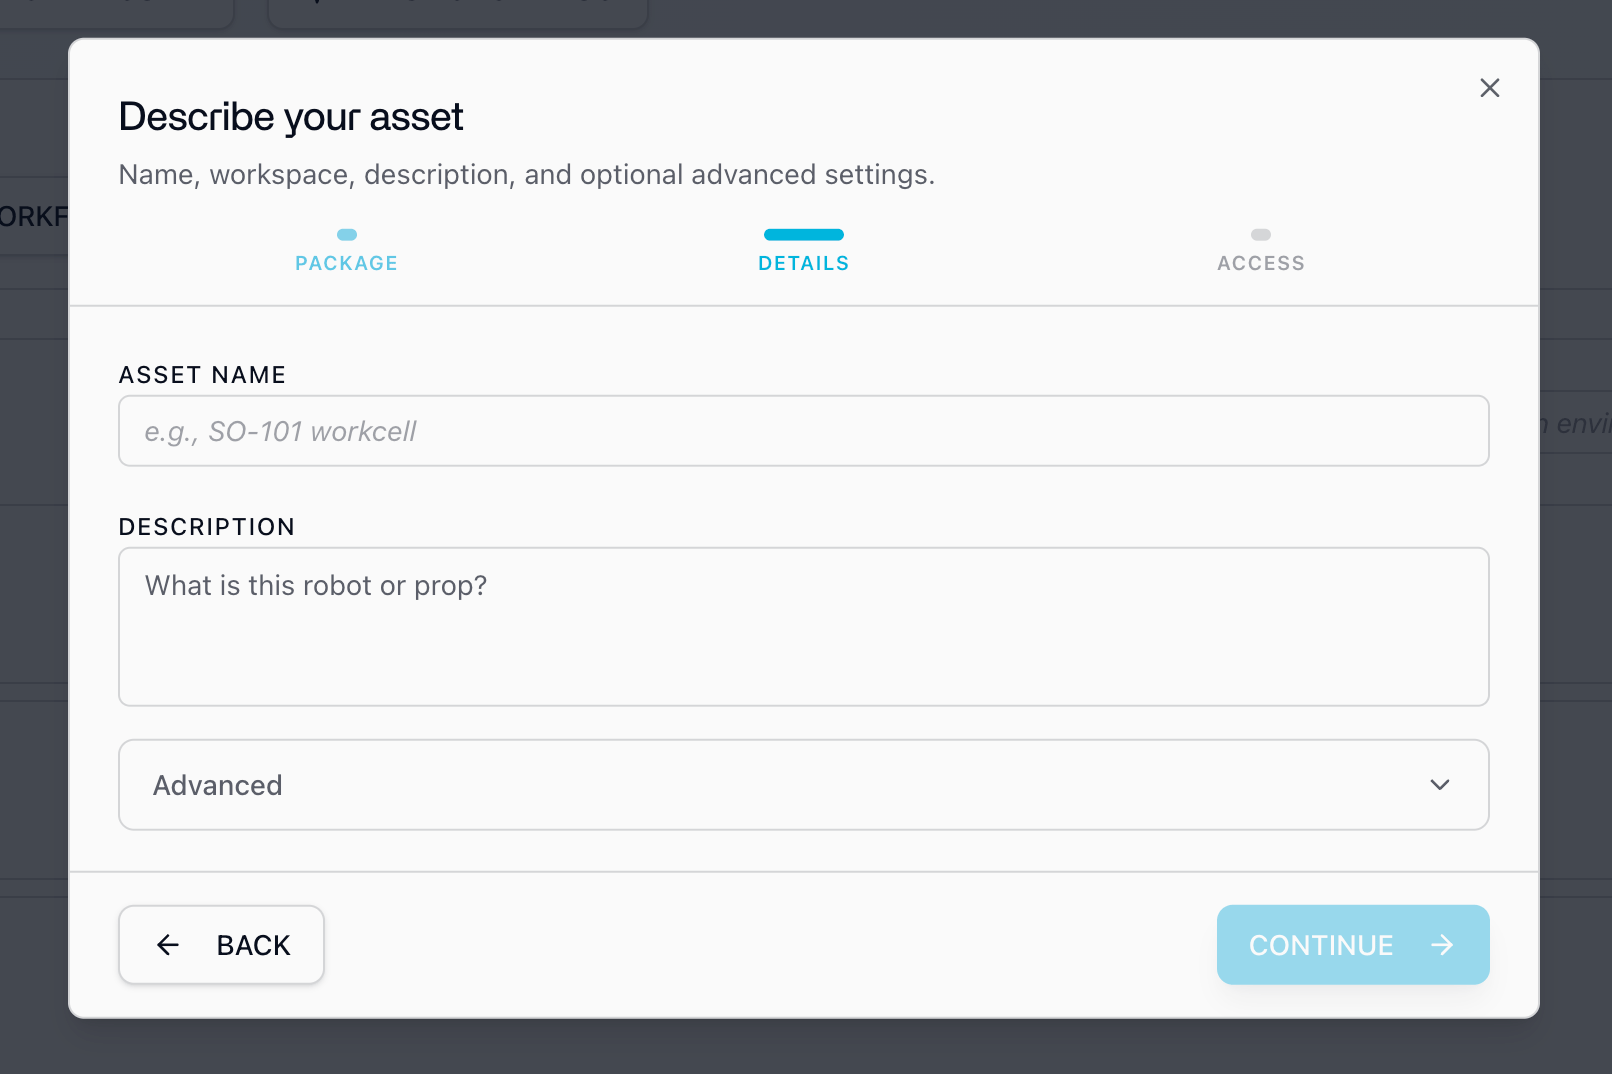
 On the **Details** step, give the asset a clear **name** (for example,
`SO-101 workcell`) and a short **description** of what the robot or prop is.
On the **Details** step, give the asset a clear **name** (for example,
`SO-101 workcell`) and a short **description** of what the robot or prop is.
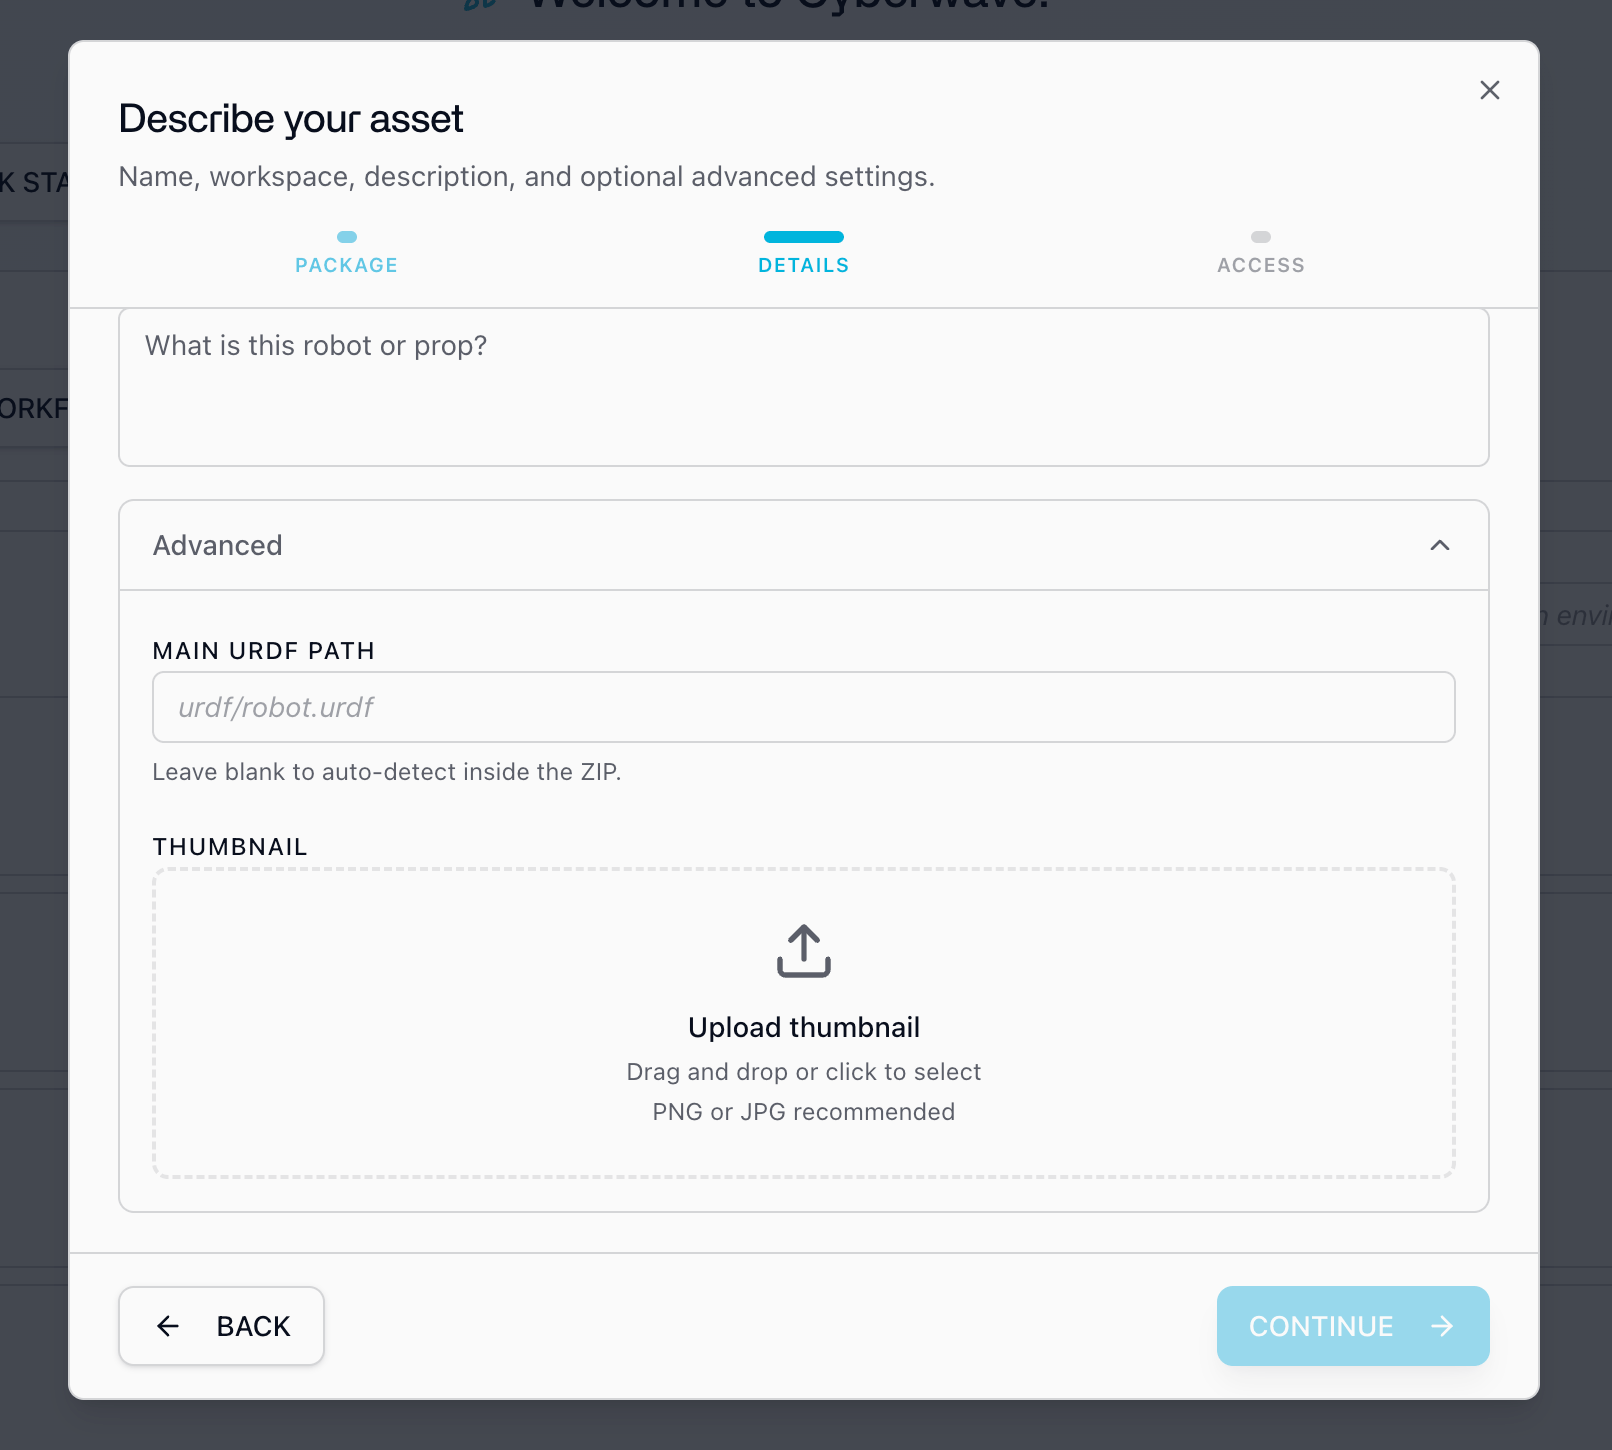
 Expand **Advanced** for two optional fields:
* **Main URDF path**: the path to the main URDF inside the ZIP (for example,
`urdf/robot.urdf`). Leave it blank to auto-detect the URDF inside the
archive, and set it only when the ZIP contains more than one URDF.
* **Thumbnail**: an optional preview image (PNG or JPG) for the asset card.
Expand **Advanced** for two optional fields:
* **Main URDF path**: the path to the main URDF inside the ZIP (for example,
`urdf/robot.urdf`). Leave it blank to auto-detect the URDF inside the
archive, and set it only when the ZIP contains more than one URDF.
* **Thumbnail**: an optional preview image (PNG or JPG) for the asset card.
 Click **Continue**.
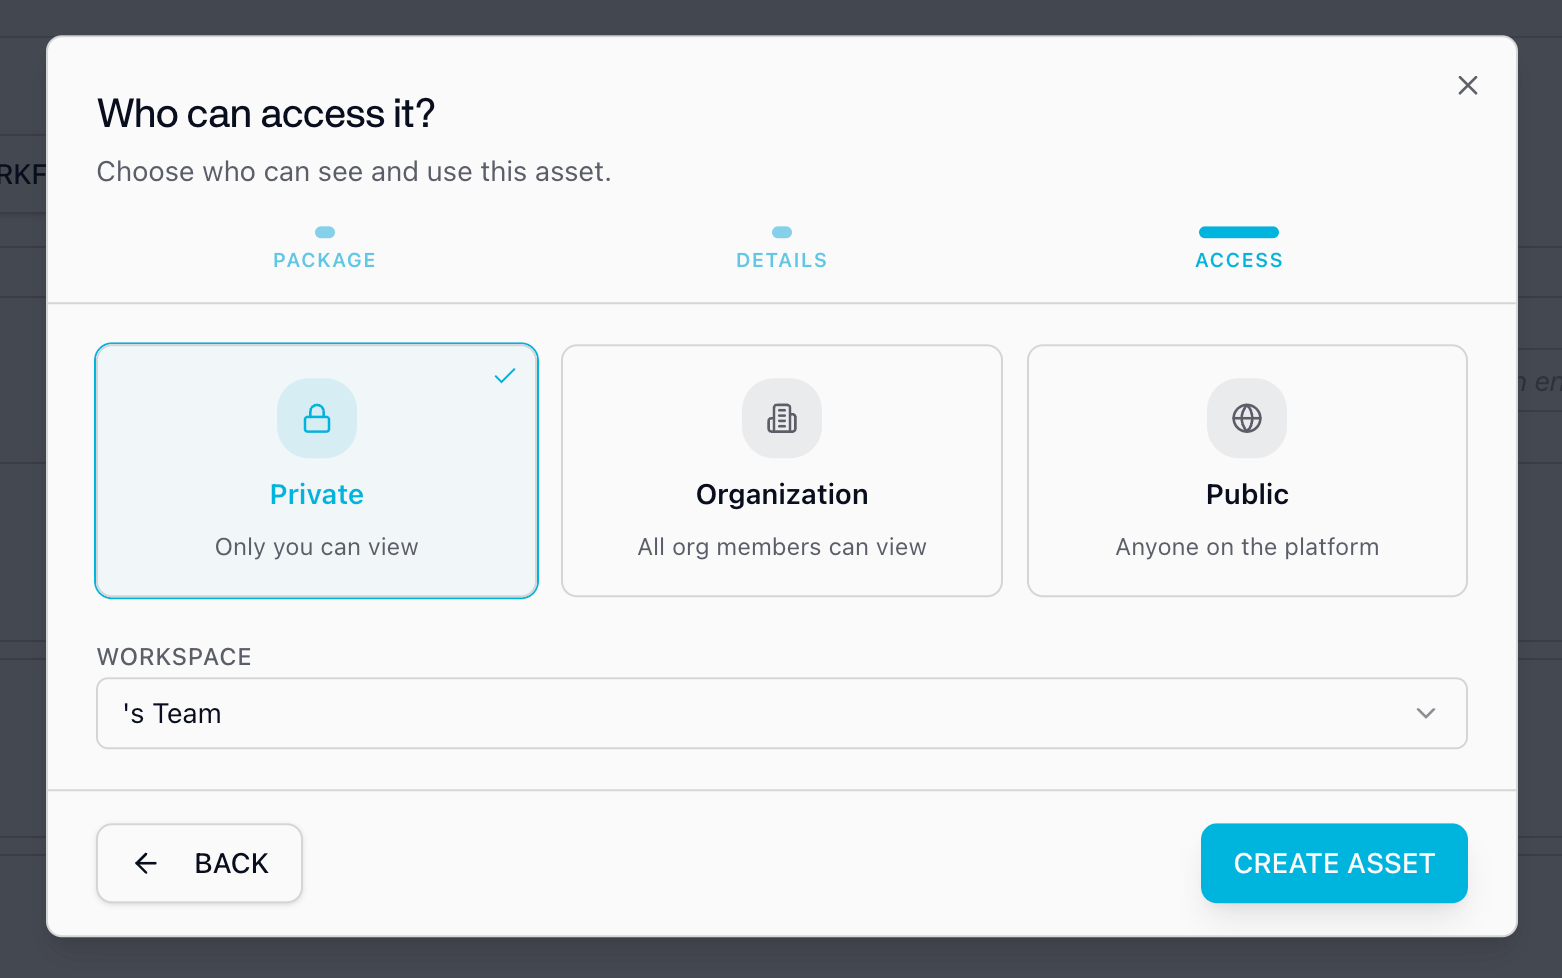
On the **Access** step, choose who can see and use the asset, then pick the
**workspace** it belongs to.
| Visibility | Who can view |
| ---------------- | -------------------------------- |
| **Private** | Only you |
| **Organization** | All members of your organization |
| **Public** | Anyone on the platform |
Click **Continue**.
On the **Access** step, choose who can see and use the asset, then pick the
**workspace** it belongs to.
| Visibility | Who can view |
| ---------------- | -------------------------------- |
| **Private** | Only you |
| **Organization** | All members of your organization |
| **Public** | Anyone on the platform |
 Click **Create Asset**. Cyberwave processes the archive, and once it's ready
the asset is available to spawn twins from, in the dashboard, the
[Python SDK](/tools/python-sdk), or the REST API.
Start **Private** while you iterate on the URDF and driver, then switch the
asset to **Organization** or **Public** when it's ready to share. Visibility
can be changed after creation.
***
## Next steps
Connect your hardware's native API to the new asset's twin so it streams and
takes commands in real time.
The full overview for bringing your own hardware online with Cyberwave.
Click **Create Asset**. Cyberwave processes the archive, and once it's ready
the asset is available to spawn twins from, in the dashboard, the
[Python SDK](/tools/python-sdk), or the REST API.
Start **Private** while you iterate on the URDF and driver, then switch the
asset to **Organization** or **Public** when it's ready to share. Visibility
can be changed after creation.
***
## Next steps
Connect your hardware's native API to the new asset's twin so it streams and
takes commands in real time.
The full overview for bringing your own hardware online with Cyberwave.